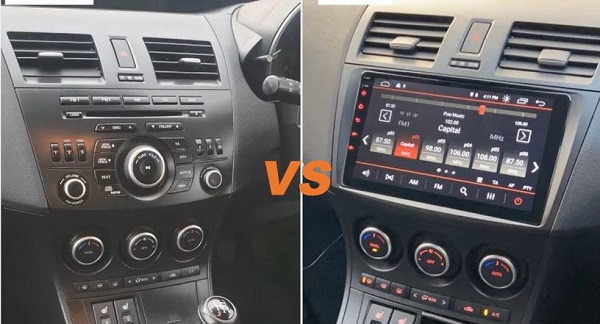
Many cars only come with a standard radio system that has no large touchscreen and brings simple functions. So, as far as I’m concerned, in terms of car upgrade or car modification, these old factory radio units should be moved at first.
The following content is about how to upgrade factory radio of Peugeot 206 (2000-2016). We got the old system removed, and installed an aftermarket touchscreen head unit to the dash.
Part 1, Steps to remove and install the (2000-2016) Peugeot 206 radio
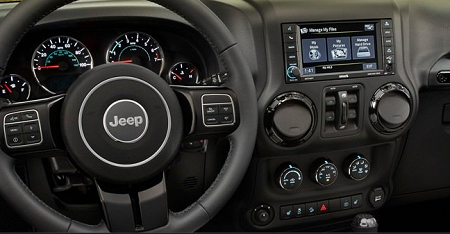
This is one of the Peugeot 206 factory radios.

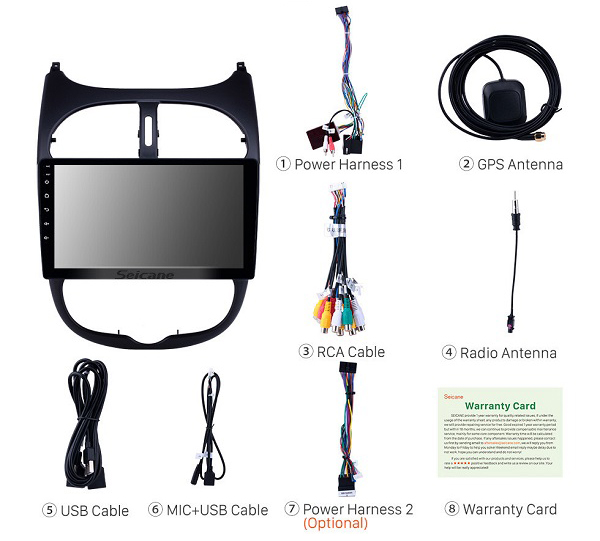
First of all, before starting to work, we need to prepare tools including plastic pry tools and screwdrivers. And keep in mind that the car power must be cut off to ensure safety.
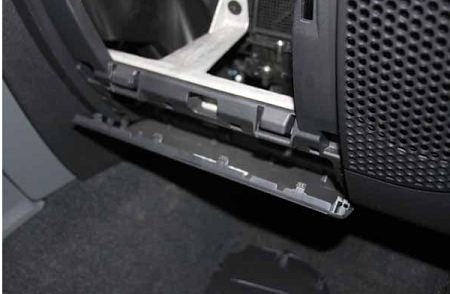
Step 1, Using the plastic pry tool to remove the top cover of the factory radio.

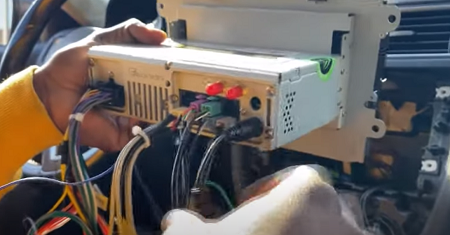
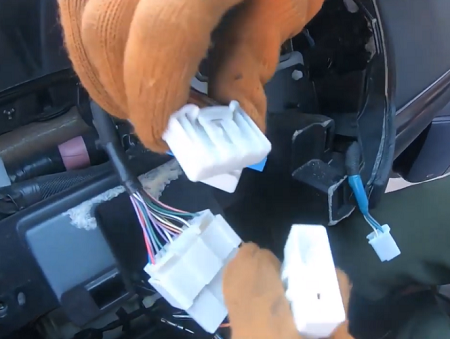
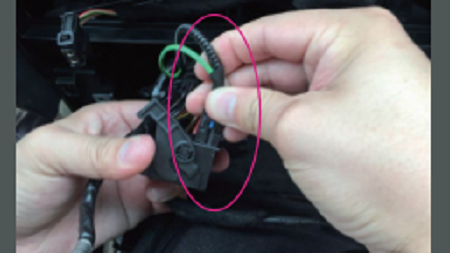
Step 2, After removing the top cover, you can see there are two screws that fixed the radio system, use the screwdriver to remove the screws. Then you can take down the whole radio system. And all the connectors should be unplugged.

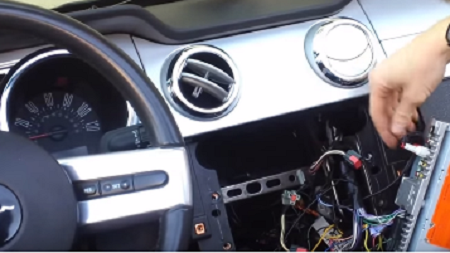
Step 3, Following we can check the new touchscreen radio system, correspondingly connect the new cables to its. Take a look at the user manual if you are not sure the interfaces.
Step 4, In this step, we need to remove the A/C outlets of the factory radio, and install them to the new radio.

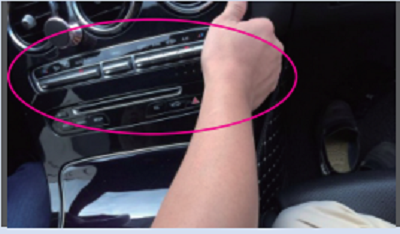
Step 5, Now you can install the new radio system to the dashboard. Make sure the cables are correctly connected. Then turn on the car to test whether the new radio works normally. When there is problem, double check the wiring condition, or contact sell for help.

Part 2, Let’s explore the fantastic features of the new radio stereo system
Obviously a touchscreen car stereo system looks beautiful. We can operate it by touch screen or the steering wheel, super convenient. The big screen also shows clearer and more information. For navigation, large screen always be the first main role.
The unit is equipped with Android 11 system, we can freely download various APPs on the Android Store. In terms of phone connection application, you are given 3 methods to do, via USB, via Bluetooth and via Carplay. Carplay is the most powerful feature since it keeps us to use the navigation, music on the radio as on the phone.

Compared to the standard radio, this upgraded touchscreen stereo is able to provide rear view images once we connect backup camera to the car. With the rear view images, we see rear situation clearly when reversing and parking car, avoiding collision.
All in all, there are also many other useful functions brought by the touchscreen Android radio, I am sure your drive must be better with such amazing radio.


Recent Comments