Owning a car makes life more convenient, but to have the drive better, we have lots of to do. That’s like buying a house, we still need to add many things to make it a home we want.
When it comes to car upgrade, different drivers have different needs, for me, the first thing I would like to do in my 2004 Jeep Wrangler is replacing the old stereo system in the dash.
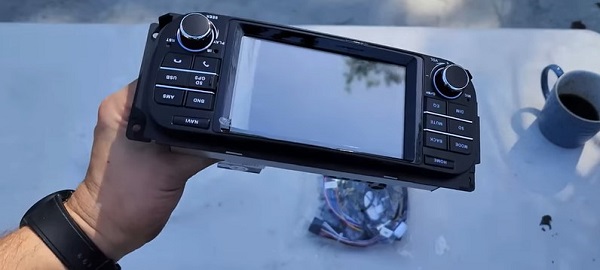
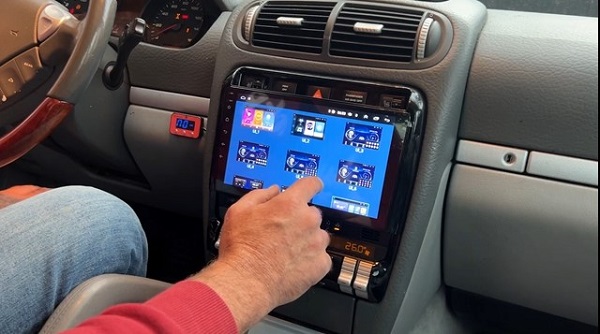
Last month, I fortunately got a touch screen Android head unit from a friend. That’s a fantastic stuff, equipped with a HD screen offering innovative and powerful interface. On the other hand, loaded with the Android 12 system and high quality CPU, it provides super fast response and smooth operation.

This Jeep Wrangler aftermarket radio is able to offer various awesome functions.
Bluetooth – Integrated with BC6 Bluetooth module, the unit supports phonebook sync, hands-free call and music streaming from your phone.
Navigation – There is built-in GPS module in the unit, supporting online and offline navigation app from Google Play app market. You won’t get lost wherever you go.
CarPlay/Android Auto – It’s said that this is the safest way to use phone when driving. By applying CarPlay, the radio acts as a phone, you can use phone maps, phone book, phone music etc. on the radio screen, so convenient and safer.
Video playing – You can watch HD videos on the radio, you can also connect to the Internet and log in to YouTube to watch interesting videos.
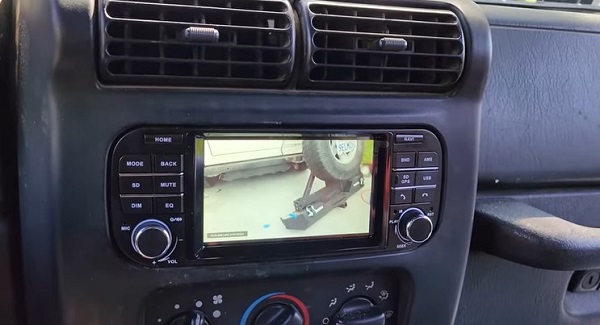
Backup camera – With the touch screen radio, we are able to install a backup camera, that helps a lot when backing the car. Every time when we back the car, the radio screen automatically switch to the rear images, showing clear rear situation to avoid collision.
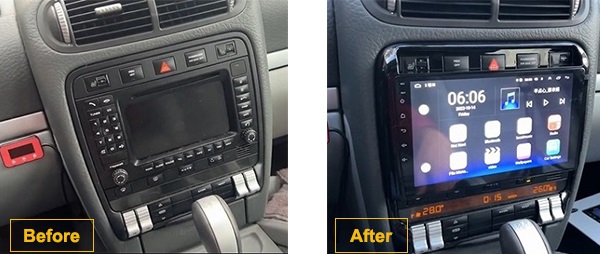
Compared to the old stereo, the touch screen Android radio adds more comfort and joy to your journey. What’s more, it’s not a hard work even we install it to the Jeep Wrangler ourselves. I’ll show you the installation guide as below.
Two important tips: 1) Prepare your tool box. 2) Cut off the car power before starting the installation work.
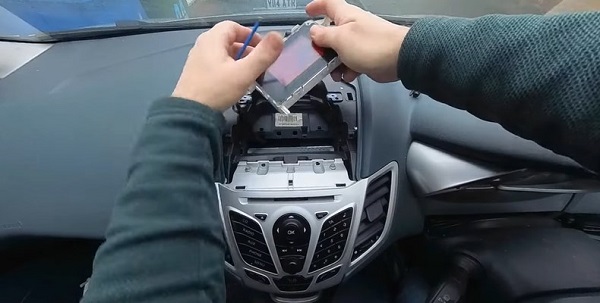
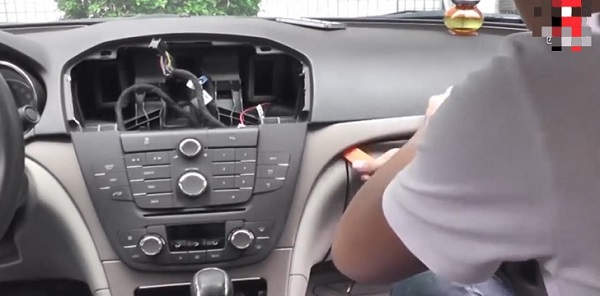
Step 1, Pry to remove the plastic cover on the top of the dashboard.

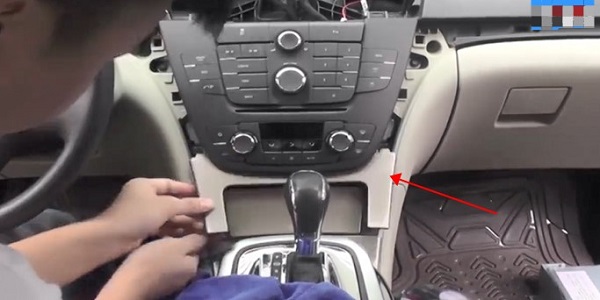
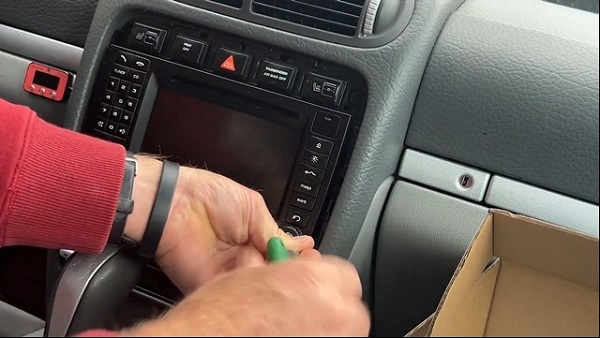
Step 2, Pry to remove the plastic frame of the radio system.

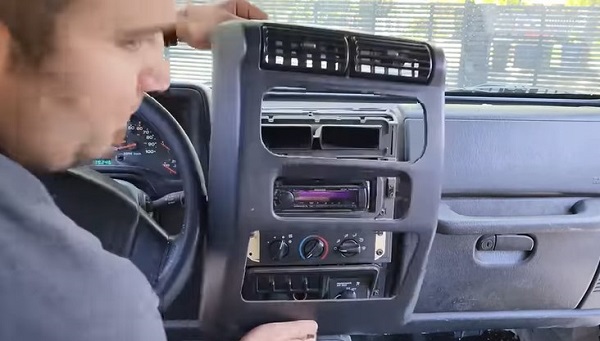
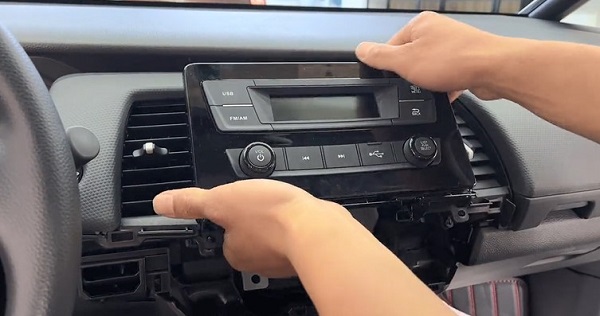
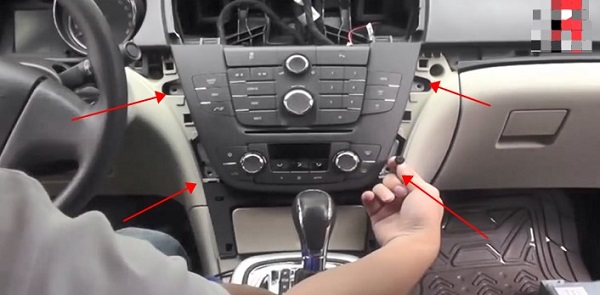
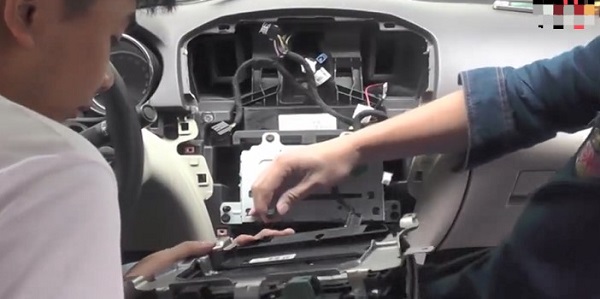
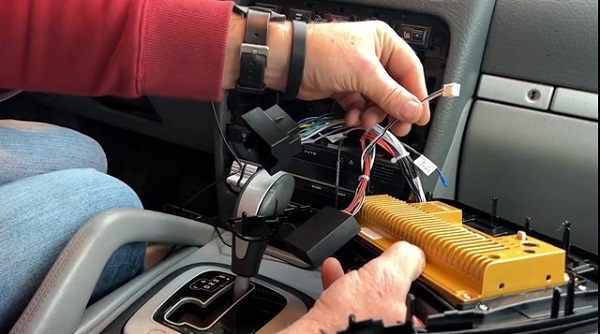
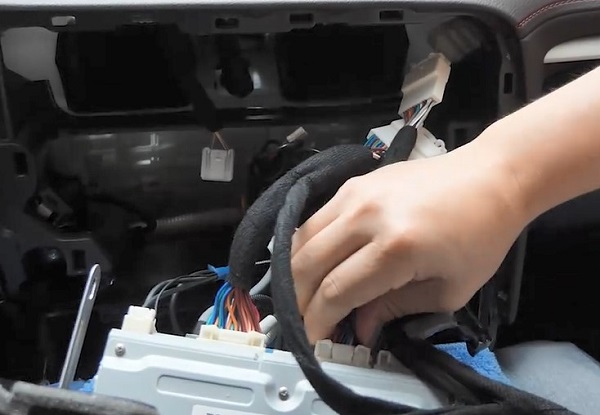
Step 3, Remove these 4 screws that fixed the radio unit. Then pull out the unit and unplug all the connectors.


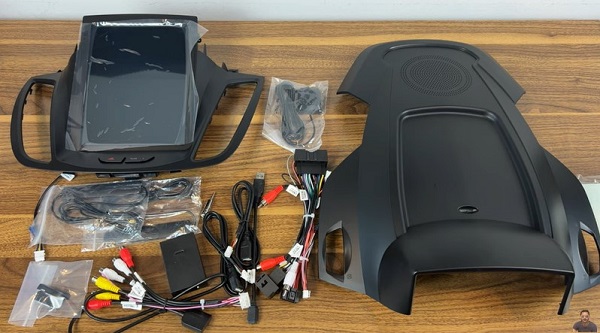
Step 4, Make sure you have all the accessories of the new Jeep Wrangler touch screen radio.
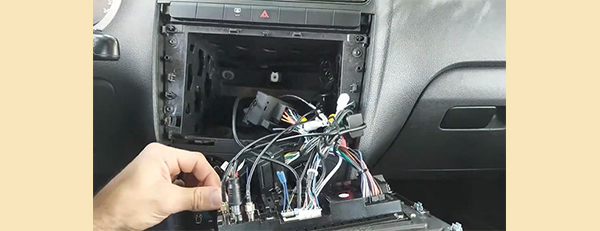
Step 5, Check the manual book to connect the new radio to the car via the new cables.

Step 6, Fix the new radio to the dash, and install back all the car parts.


Step 7, Turn on your car to test the new car radio system. If there is problem, double check the wiring condition or ask the seller for assistant.


Recent Comments