Self-driving adventures offer unparalleled freedom to explore remote landscapes and immerse oneself in nature’s beauty. However, embarking on such journeys requires meticulous planning, proper equipment, and a keen awareness of safety precautions. Here’s your comprehensive guide to preparing for and staying safe during outdoor self-driving expeditions.
Preparation: What to Pack
Vehicle Essentials
Maintenance: Ensure your vehicle undergoes thorough maintenance before the trip. Check oil levels, tire pressure, brakes, and ensure all lights are functiona

Emergency Kit: Pack a comprehensive emergency kit including a spare tire, tire-changing tools, jumper cables, tow ropes, and basic repair tools.

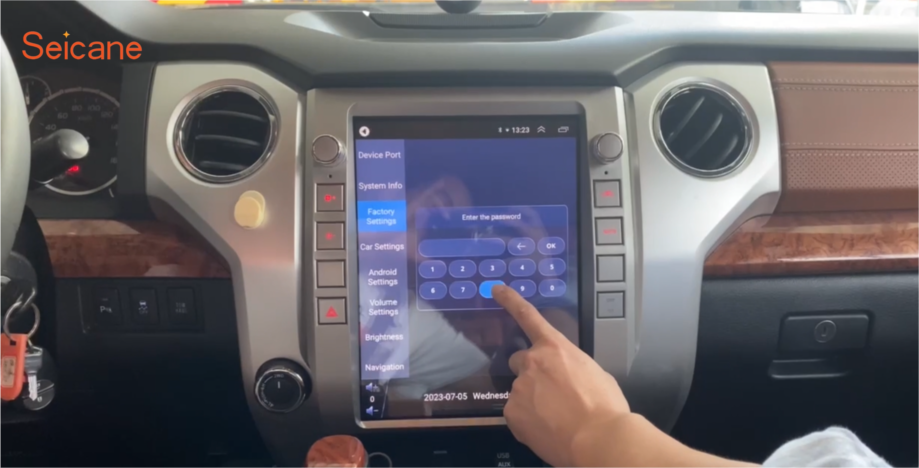
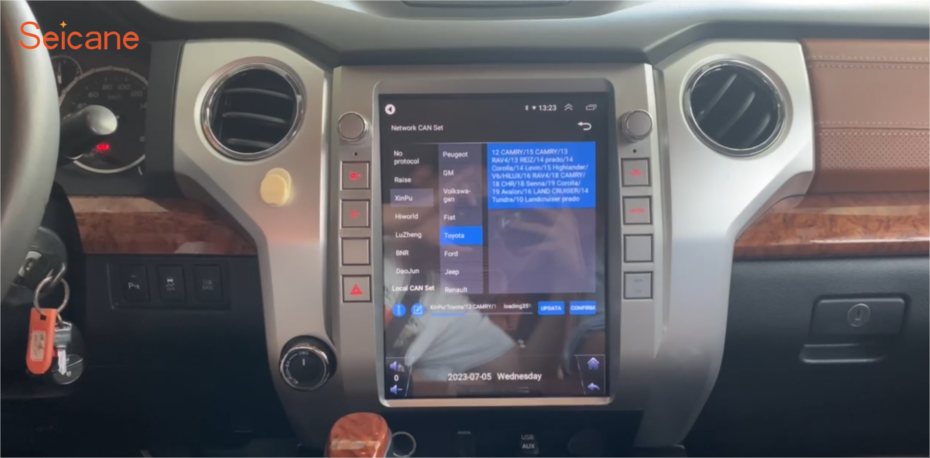
Navigation Tools: Carry updated maps, GPS devices, and consider offline navigation apps like the Seicane CarPlay system. Familiarize yourself with the route and potential detours.

Communication: Bring a fully charged mobile phone with emergency contacts saved. In remote areas, consider a satellite phone or two-way radio.
Camping and Survival Gear
Shelter: Pack a tent suitable for the terrain and weather conditions, along with sleeping bags and sleeping pads for comfort.

Cooking Equipment: Portable stove, fuel, cooking utensils, and sufficient fuel for meals. Bring non-perishable food items and a water filtration system.

Clothing: Pack layered clothing suitable for various weather conditions, including rain gear, insulated jackets, and sturdy footwear.

Personal and Safety Items
First Aid Kit: Include bandages, antiseptics, pain relievers, and any necessary medications.

Personal Hygiene: Biodegradable soap, hand sanitizer, and toiletries. Pack a small towel and consider wet wipes for quick clean-ups.

Safety Gear: Headlamps, flashlights, and extra batteries. Reflective vests and roadside warning triangles are essential for roadside emergencies.

Safety Tips: What You Need to Know
Before You Go
Route Planning: Research the route thoroughly, noting road conditions, fuel stops, and potential hazards. Share your itinerary with a trusted contact.

Vehicle Readiness: Conduct a pre-trip vehicle inspection, checking fluids, tires, brakes, and lights. Ensure your spare tire is in good condition.

Weather Awareness: Check weather forecasts and prepare for changing conditions. Adjust your itinerary if severe weather is predicted.

On the Road
Driving Responsibly: Observe speed limits and road signs. Stay alert for wildlife and slow-moving vehicles, especially on narrow roads.

Emergency Preparedness: Know how to change a tire and handle basic roadside repairs. Keep emergency contacts handy and know local emergency numbers.

Campsite Safety: Choose safe and designated campsites. Follow Leave No Trace principles, respecting wildlife and preserving natural surroundings.

Emergency Situations
Communication: Maintain communication with friends or family, updating them on your progress. In remote areas, check in regularly via satellite phone.

Medical Emergencies: Be prepared to administer first aid and seek medical assistance promptly if needed. Know basic first aid techniques.

Vehicle Breakdowns: If your vehicle breaks down, stay with it and use emergency signals. Signal for help using reflective triangles or flares.
Conclusion

Embarking on an outdoor self-driving adventure is an exhilarating experience that requires thorough preparation and safety precautions. By packing essential gear, planning your route meticulously, and staying vigilant on the road, you can ensure a safe and memorable journey into the wilderness.

Remember, the key to a successful adventure lies in preparation and respect for nature. Happy trails and safe travels!


Recent Comments