
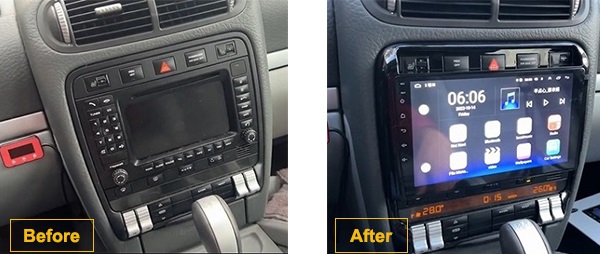
In this guide, I will walk you through the process of disassembling and installing an Android radio in your vehicle.

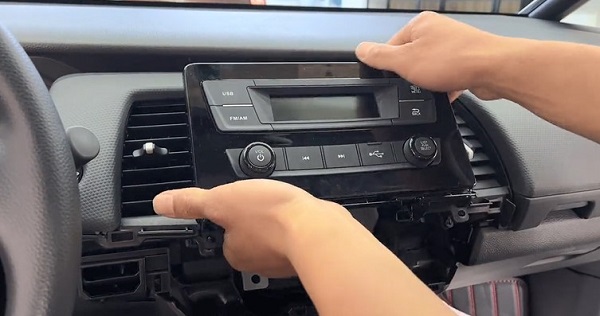
Begin by removing the entire button panel.

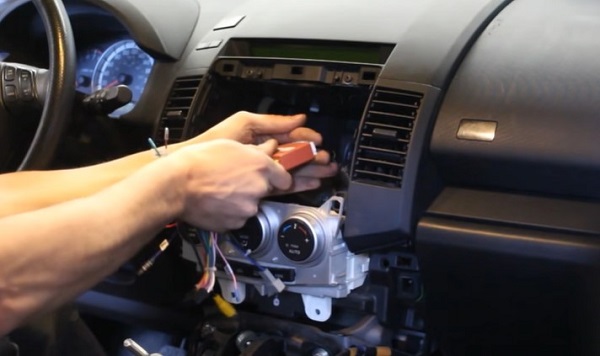
Next, unscrew the four screws to detach the original C screen, followed by removing the parking grip.

Lower the panel to access another four screws, allowing you to remove the clatter box. After disassembly, the interior should appear as shown.

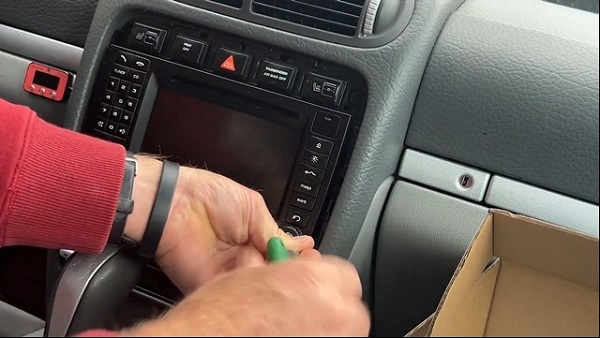
Proceed by removing the two air vents and the air conditioning button panel. Install the previously removed buttons onto the new panel and then attach the air outlet to the Android radio.

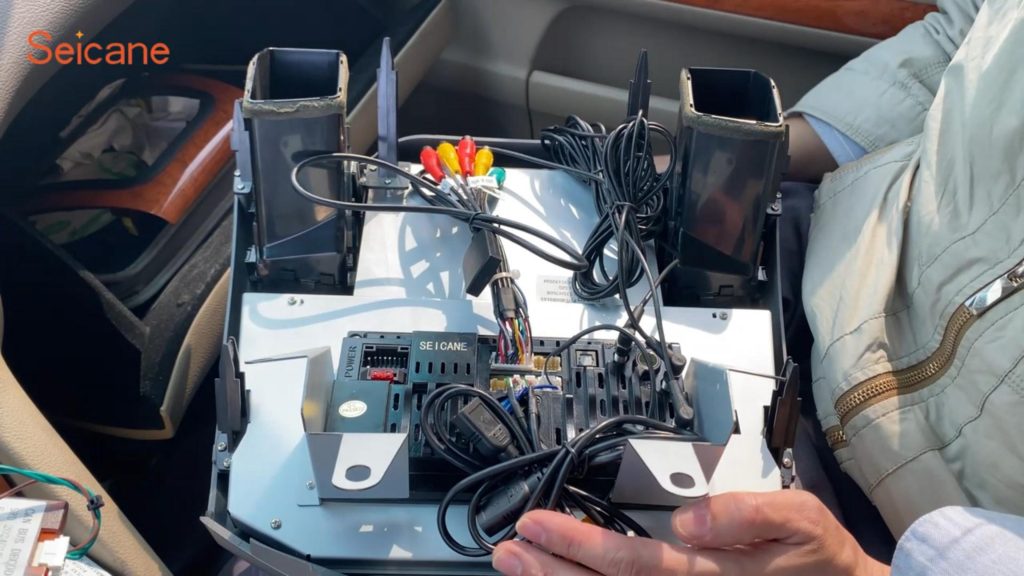
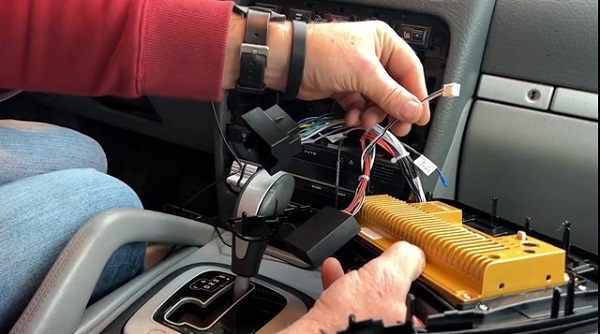
Begin connecting the wires, including the fourth generation antenna, GPS antenna, video input cable, USB transmission cable, RCA audio cable, and the radio antenna.

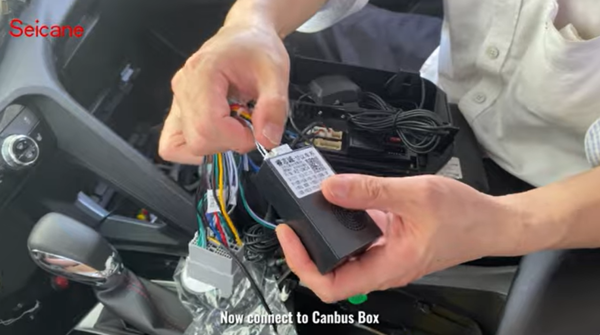
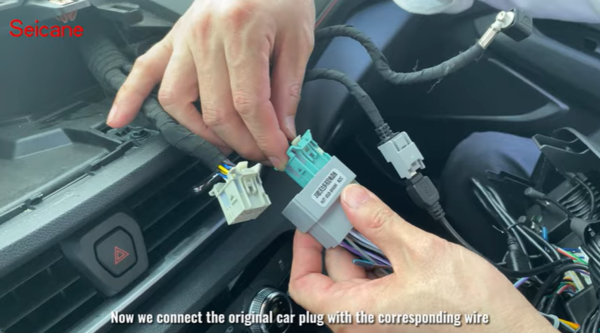
Connect the canvas box and the protocol serial port, then reconnect the screen power plug and the reverse plug. Next, install the new button panel and connect the wires from the Android device to the original car plug.
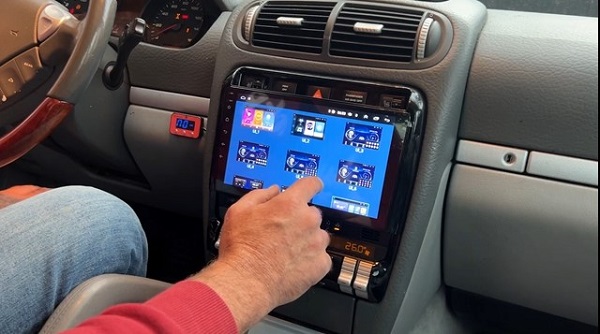
After ensuring all connections are secure, install the Android car system and restore the panel, including the silver decorative strip. Complete the installation by attaching the parking handle.

Once installed, the car’s canvas box requires initial setup.

This setup supports various functions, including regional car air conditioning control, reversing camera support, volume and switch adjustments, switch reminders, local online video playback, offline or online maps, automatic radio station search, DSP audio adjustment, and steering wheel button control.

Finally, enjoy the wireless CarPlay or Android Auto features directly from your phone in your vehicle.

Thank you for following along with this installation guide!


Recent Comments