How to Remove and Install a 2008 2009 2010 2011 2012-2016 TOYOTA Venza GPS Navi DVD Car Stereo with Bluetooth Audio Navigation

2008 2009 2010 2011 2012-2016 TOYOTA Venza GPS Navi after installation

If you plan to build a more comfortable and convenient in-car environment as well as embrace a brand new driving experience, it will be a great choice of you to replace your factory radio with a new aftermarket car radio. To help you successfully finish the whole removal and installation process, here I’d like to share a 2008 2009 2010 2011 2012-2016 TOYOTA Venza car radio installation instruction from Seicane with you. If you have the same or similar dashboard, you can refer to this instruction to help with your installation.

2008 2009 2010 2011 2012-2016 TOYOTA Venza GPS Navi after installation

Here are some tips before the installation:

1. Please disconnect the power before the installation.

2. Please prepare a lever and a screwdriverbefore the removal and the installation.

3. Please keep all the separate parts from the car. Please take great care of the dashboard to avoid scratching it during its detachment and installation. Please keep handy any parts from the car and make use of all the original screws from the car as much as possible. so each related part of the unit can be fixed securely.

4. For your convenience, here’s therecommended tools for removal and installation from Seicane, please check for more details: http://www.seicane.com/car-dvd-dismantling-device-srd-400


2008 2009 2010 2011 2012-2016 TOYOTA Venza car radio installation instruction

1. The original car radio.

The original car radio

2. Use a plastic removal tool to remove the paneland disconnect the connector at the back of it.

Use a plastic removal tool to remove the paneland disconnect the connector at the back of it
2-1
2-1

3. Remove Phillip screws which fix the AC control.

Remove Phillip screws which fix the AC control

4. Take out the AC controland unplug the connector at the back.

Take out the AC controland unplug the connector at the back

5. Use a screwdriver and flexibility jointto remove mounting screws.

6. Gently take out the original car radio.

Gently take out the original car radio

7. Disconnect the connectors and cables at the back of the radio.

8. Check all the accessories for the new Seicane car radio.

Check all the accessories for the new Seicane car radio

9. Connect the harnesses to the back of the new Seicane car radio.

Connect the harnesses to the back of the new Seicane car radio

10. Connect the Seicane car radio to your original radio’s plugs.

11. Turn on the new Seicane car radio to have a careful check if everything works well. If it doesn’t, please check whether all the cables are connected correctly.

12. Put the new Seicane car radio into the dash.

13. Put everything into their original place.


Wish you get some inspiration from the above steps. If you have any questions, you might as well consult your dealer for valuable advice or seek help from a professional. Or if you are afraid of making damage to either your car radio or your car, you can directly go to a car radio upgrade center to have the new car radio installed by a professional technician.

Besides, as for the selection of an ideal car radio, if you don’t have any ideas, I’d like to recommend a remarkable 2008 2009 2010 2011 2012-2016 TOYOTA Venza car radio from Seicane to you.

https://www.seicane.com/cheap-2008-2016-toyota-venza-head-unit-with-radio-bluetooth-gps-navigation-system-touch-screen-cd-dvd-player-3g-wifi-mirror-link-obd2-aux-dvr-steering-wheel-control-backup-camera-s18t027

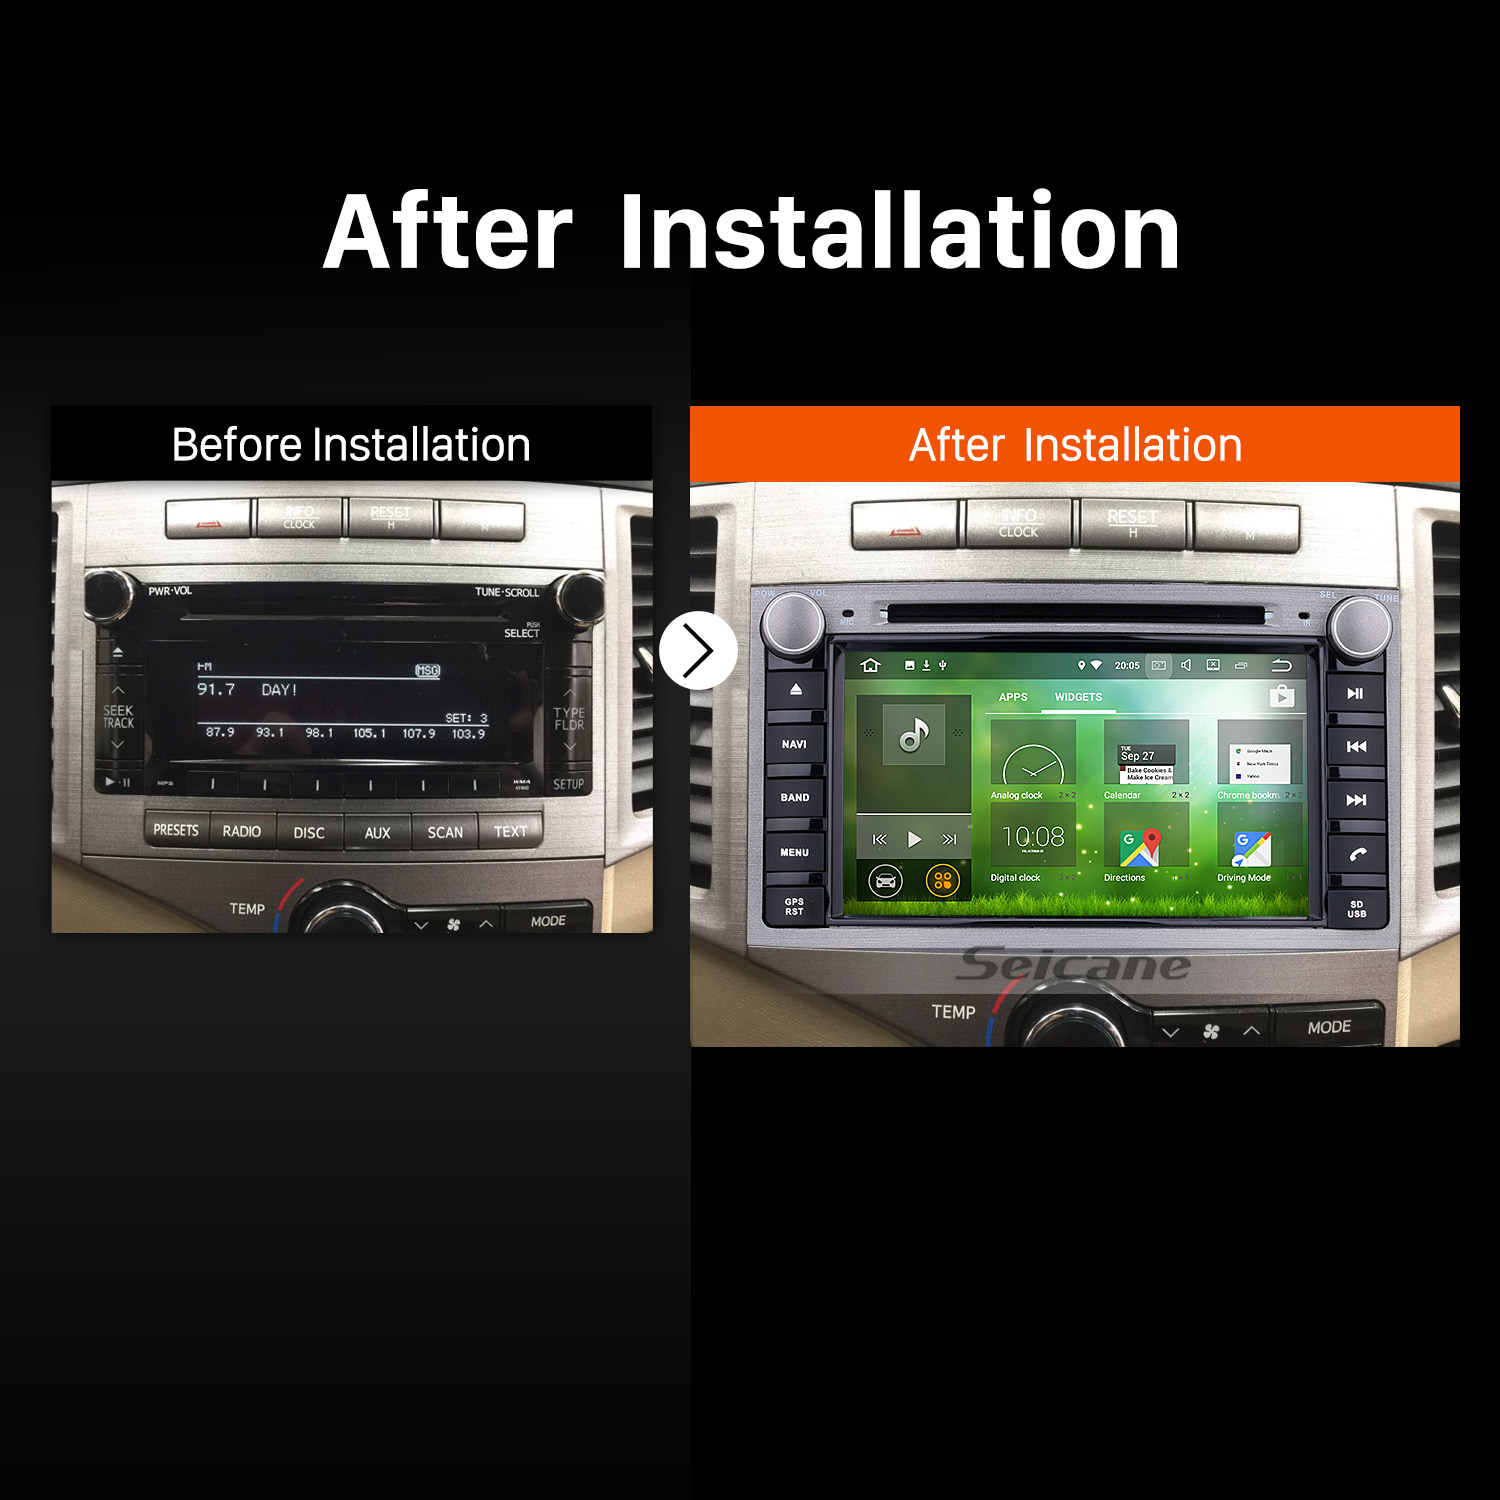
After get this car radio installed in your car, your car interior environment can be greatly improved and you can embrace a brand new driving experience.

Even you are traveling around a totally unfamiliar place, you won’t get lost any more since this unit come with the high-accuracy GPS navigation function. With its help, you can easily know your current locations and find the right way to reach your desired destinations through text-to-speech guidance. And while navigating, you can freely listen to your favorite music thanks to this unit’s dual zone function, and the music will automatically switch to GPS voice.

Wish you like this unit and good luck to you!

How to Effectively Upgrade a 2006 2007 2008 2009 2010-2012 MITSUBIHI OUTLANDER Car Radio with Bluetooth GPS Navigation System

2006 2007 2008 2009 2010-2012 MITSUBIHI OUTLANDER Car Radio after installation

As you know, at present, there are more and more options for you to enhance your car’s capabilities. And one of the most popular measures you can take is to replace your factory radio with a new multifunctional car radio. With an ideal car radio, you can not only gain a lot of convenience but also enjoy more entertainment features. This article mainly introduce a 2006 2007 2008 2009 2010-2012 MITSUBIHI OUTLANDER car radio installation instruction from Seicane. If you have the same or similar dashboard and plan to upgrade your factory radio, you can refer to this instruction to deal with the installation.

2006 2007 2008 2009 2010-2012 MITSUBIHI OUTLANDER Car Radio after installation

Some tips before the installation:

1. Please disconnect the power before the installation.

2. Please prepare a lever and a screwdriverbefore the removal and the installation.

3. Please keep all the separate parts from the car. Please take great care of the dashboard to avoid scratching it during its detachment and installation. Please keep handy any parts from the car and make use of all the original screws from the car as much as possible. so each related part of the unit can be fixed securely.

4. For your convenience, here’s therecommended tools for removal and installation from Seicane, please check for more details: http://www.seicane.com/car-dvd-dismantling-device-srd-400


2006 2007 2008 2009 2010-2012 MITSUBIHI OUTLANDER car radio installation instruction

1. The original car radio.

The original car radio

 2. Open the glove box so as to get access to the trim. Then use a plastic removal tool to remove the two trim panels.

Open the glove box so as to get access to the trim. Then use a plastic removal tool to remove the two trim panels
2-1
2-1
2-2
2-2

3. Use a screwdriver to remove the screws that fix the car radio panel.

Use a screwdriver to remove the screws that fix the car radio panel

4. Try to remove the car radio panel.

Try to remove the car radio panel

5. Remove four screws that are holding the factory radio.

Remove four screws that are holding the factory radio

6. Gently take the original car radio out from the dashboard and disconnect the connectors or cables at the back of it.

Gently take the original car radio out from the dashboard and disconnect the connectors or cables at the back of it

7. Check all the accessories for the new Seicane car radio.

8. Connect the harnesses to the back of the new Seicane car radio.

9. Connect the Seicane car radio to your original radio’s plugs.

10. Turn on the new Seicane car radio to have a careful check if everything works well. If it doesn’t, please check whether all the cables are connected correctly.

11. Put the new Seicane car radio into the dash.

12. Put everything into their original place. All the installation is done.


Wish the above installation guide can be helpful for you to some extent. If you have any doubts, please feel free to contact your dealer, communicate with someone experienced or turn to a professional for help. Or you can directly ask a professional technician to help you install the new car radio. Anyway, before installation, it is essential for you to select an ideal car radio for your beloved car radio. If you have no ideas, you can refer to an excellent 2006 2007 2008 2009 2010-2012 MITSUBIHI OUTLANDER car radio that I would like to recommend to you.

https://www.seicane.com/android-hd-touchscreen-car-radio-dvd-player-for-2006-2012-mitsubihi-outlander-gps-navigation-system-bluetooth-phone-wifi-support-obd2-usb-mirror-link-steering-wheel-control-backup-camera-1080p-video-s23848e

This car radio is running on the advanced and stable Android 6.0 operation system and a powerful quad-core CPU processor to enhance its performance so as to provide its users with better service.

Even you are driving around an unfamiliar place, you won’t get lost any longer as long as you turn on GPS function and make full use of it. With its powerful GPS function, you can easily locate where you are and find a right way to reach your destinations through turn-by-turn directions and voice prompts. And this unit’s dual zone function enables you to listen to your favorite music while navigating.

Besides, thanks to the wireless Bluetooth connection between your Bluetooth-enabled mobile phone and this car radio, both Bluetooth hands-free phone calls and Bluetooth streaming music are available for you, therefore, you can gain a lot of convenience and enjoyment.

If you like this car radio, just add it to your shopping cart. Good luck!