How to Install a 2012 CITROEN C4 Car Stereo With Radio GPS Navigation Function in an Effective Way

2012 CITROEN C4 car stereo after installation

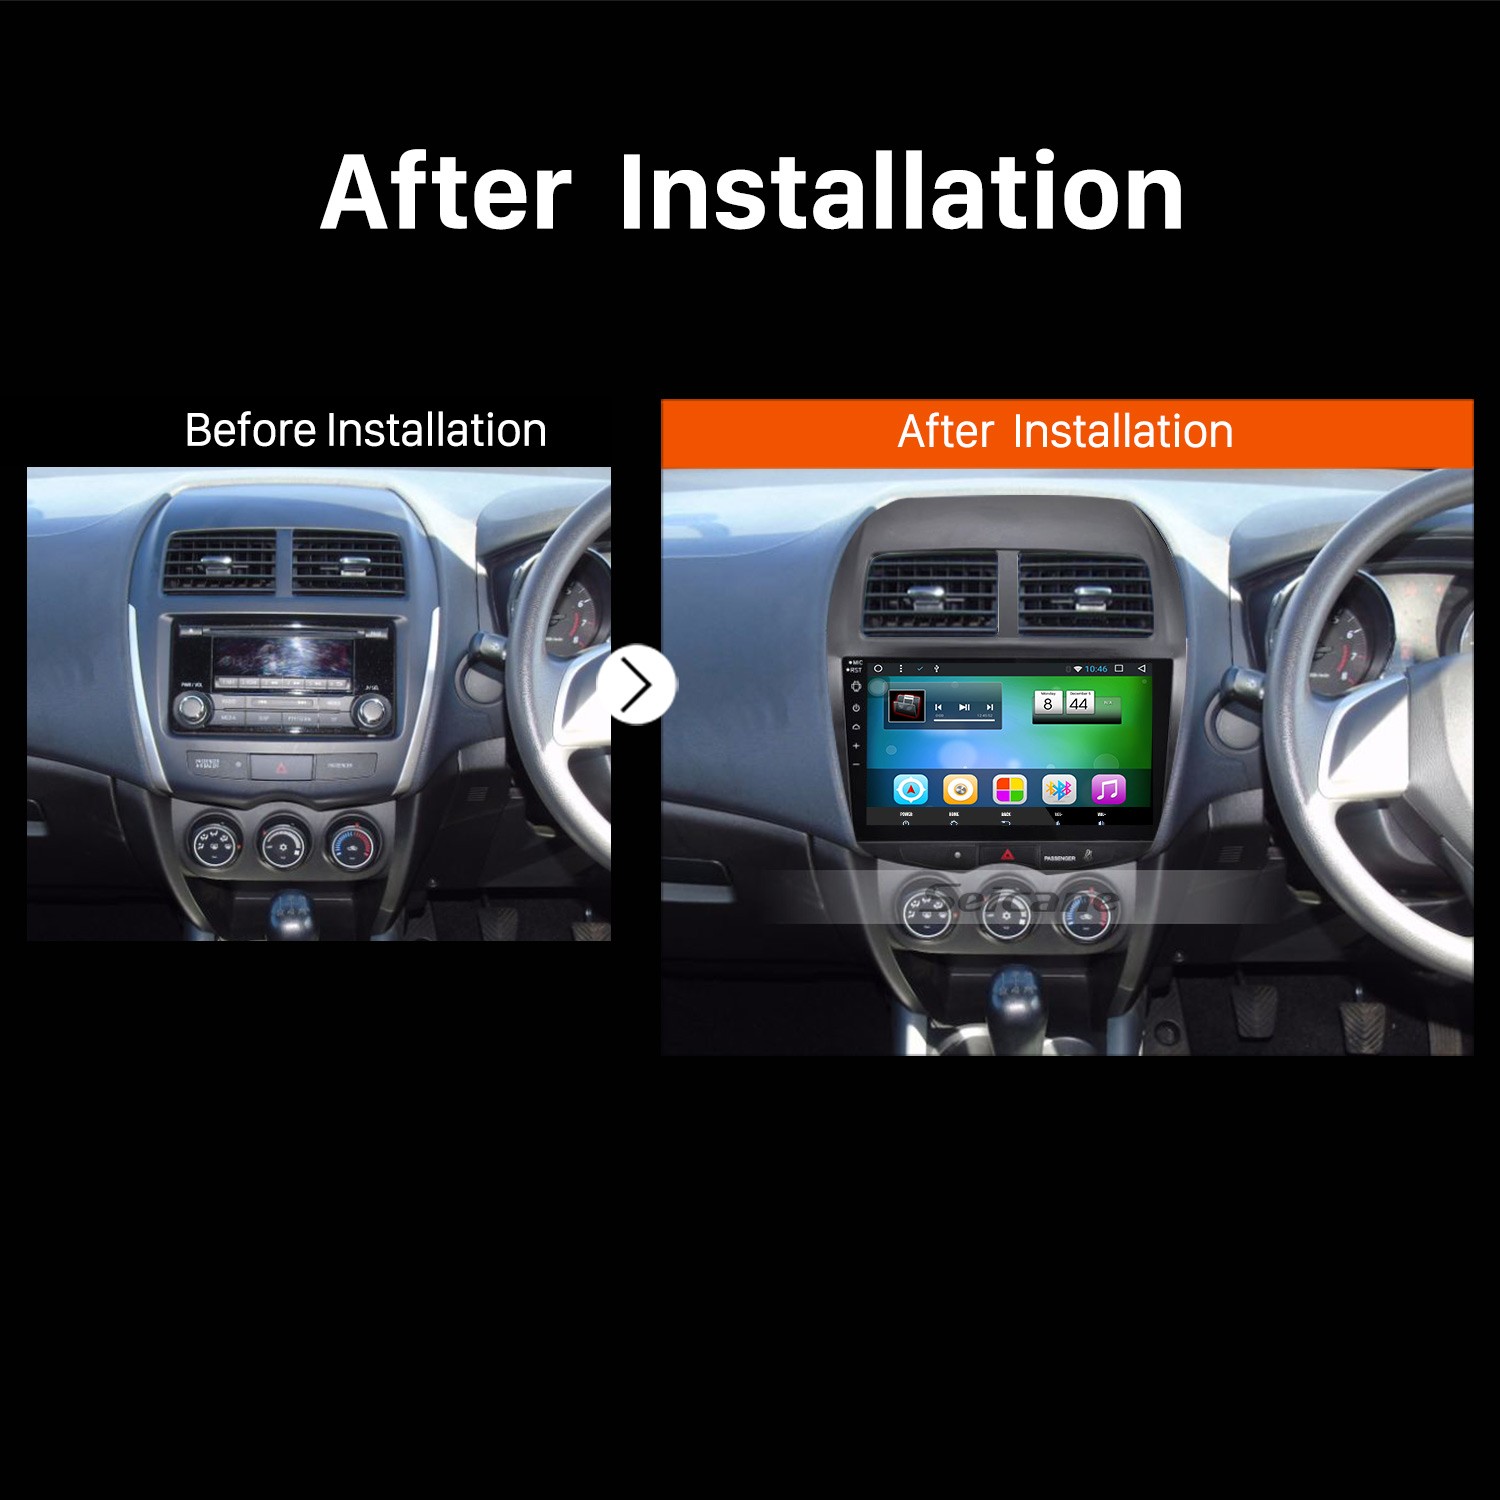
Would you like to learn to remove your factory radio and install a new car radio on your own? If your answer toward this question is “yes”, then you can find a detailed installation instruction to guide you. This article is mainly about introducing how to install a 2012 CITROEN C4 car stereo with radio, GPS function and other useful features. If you own the same vehicle type, you might as well refer to this instruction carefully. Wish it is helpful for you.

2012 CITROEN C4 car stereo after installation

Before and during installation, you should notice:

1. Before connecting, please make sure the ignition is off to avoid short circuit.

2. Ensure connect the yellow and red power cable at last.

3. Ensure that all loose wires are isolated with electrical tape

4. Ensure don’t tangle the wire when tighten the moving parts(Such as seat rails).

5. Ensure that all ground is connected to the same place.

6. Using the improper fuse may cause damage of fire, so when replace the fuse, please consult the professional.

7. For your convenience, here’s the recommended tools for removal and installation from Seicane, please check for more details: http://www.seicane.com/car-dvd-dismantling-device-srd-400


2012 CITROEN C4 car stereo installation instruction

1. The original car radio.

The original car radio

2. Use a plastic knife to pry the trim panel and remove it.

Use a plastic knife to pry the trim panel and remove it
2-1
2-1
2-2
2-2

3. Remove screws that are holding the radio.

Remove screws that are holding the radio

4. Take out the original car radio.

Take out the original car radio

5. Disconnect the connectors and cables at the back of the radio.

Disconnect the connectors and cables at the back of the radio

6. Check all the accessories for the new Seicane car radio.

7. Connect the harnesses to the back of the new Seicane car radio.

8. Connect the Seicane car radio to your original stereo’s plugs.

9. Turn on the new Seicane car radio to have a careful check if everything works well. If it doesn’t, please check whether all the cables are connected correctly.

10. Put the new Seicane car radio into the dash.

11. Put everything into their original place. All the installation is done.


If you have any doubts, please don’t hesitate to consult your dealer, communicate with someone experienced or turn to a professional for help. Besides, before installation, it is essential for you to carefully pick an ideal car radio. Here I would like to recommend a remarkable 2012 CITROEN C4 car stereo from Seicane with you. For more details, please click:

https://www.seicane.com/hd-touchscreen-radio-android-head-unit-for-2012-citroen-c4-car-stereo-gps-navigation-system-bluetooth-phone-wifi-support-mirror-link-obdii-dvr-steering-wheel-control-usb-s086990f

This powerful car stereo is running on the newest Android 6.0 operation system, high-quality 8-core CPU and 2GB RAM.

Even though you are not good at identifying directions, the high-accuracy 3D GPS navigation system is specially built in to offer you some help. With the help of the worldwide real-time navigation, you can get access to features like current location, 3D street view, landmark building display, turn-by-turn voice directions, etc. So you can be accurately guided to arrive at your desired destinations.

Besides, under the wireless Bluetooth technology, without taking your hands off the steering wheel, hands-free calls and streaming music are both available as long as you pair your Bluetooth-enabled mobile phone with this unit.

If you like this unit, just add it to your shopping cart right now. Good luck!

Easy Steps to Replace a 2012 CITROEN C4 Bluetooth GPS DVD Touch Screen Car Radio

2012 CITROEN C4 Bluetooth GPS DVD Touch Screen Car Radio after installation

To embrace a more comfortable in-car environment and driving experience, one of the straightforward ways is to replace your factory radio with a new aftermarket car radio. And to reduce some budget on the replacement of the car radio, you can try to install the new car radio on your own. We write this article to mainly introduce a 2012 CITROEN C4 car radio installation guide from Seicane. If you have the same or similar dashboard, you can take this guide as a reference.

2012 CITROEN C4 Bluetooth GPS DVD Touch Screen Car Radio after installation

Some tips before the installation:

1. Please disconnect the power before the installation.

2. Please prepare a lever and a screwdriver before the removal and the installation.

3. Please keep all the separate parts from the car. Please take great care of the dashboard to avoid scratching it during its detachment and installation. Please keep handy any parts from the car and make use of all the original screws from the car as much as possible. so each related part of the unit can be fixed securely.

4. For your convenience, here’s the recommended tools for removal and installation from Seicane, please check for more details: http://www.seicane.com/car-dvd-dismantling-device-srd-400

2012 CITROEN C4 car radio installation guide

1. The original car radio.

The original car radio

2. Use a plastic knife to pry the trim panel and remove it.

Use a plastic knife to pry the trim panel and remove it
2-1
2-1
2-2
2-2

3. Remove screws that are holding the radio.

Remove screws that are holding the radio

4. Take out the original car radio.

Take out the original car radio

5. Disconnect the connectors and cables at the back of the radio.

Disconnect the connectors and cables at the back of the radio

6. Check all the accessories for the new Seicane car radio.

7. Connect the harnesses to the back of the new Seicane car radio.

8. Connect the Seicane car radio to your original stereo’s plugs.

9. Turn on the new Seicane car radio to have a careful check if everything works well. If it doesn’t, please check whether all the cables are connected correctly.

10. Put the new Seicane car radio into the dash.

11. Put everything into their original place. All the installation is done.


Above are all steps about the installation of a 2012 CITROEN C4 car radio. Wish you can learn some skills from them. To overcome some difficulties you meet in the removal and installation process, you can browse some professional websites or seek help from your dealer, someone experienced or a professional. But if you haven’t selected an ideal car radio yet, you may check out the following link which is a wonderful 2012 CITROEN C4 car radio from Seicane.

https://www.seicane.com/2012-citroen-c4-dvd-player-radio-android-navigation-system-mirror-link-gps-hd-touch-screen-obd2-dvr-tv-1080p-video-3g-wifi-steering-wheel-control-bluetooth-usb-sd-backup-camera-s168064

This great 2012 CITROEN C4 car radio can be regarded as your perfect road companion since it comes with higher configuration and better performance.

This unit’s built-in worldwide real-time GPS navigation system allows you to easily know your current locations and have the optimal route options to arrive at any locations you would like to go to according to turn-by-turn directions and voice prompts.

Thanks to this unit’s additional entertainment features, you can utilize its function as a multimedia player to play music, videos, TV programs, movies, etc, which may relax both yourself and your passengers.

Wish you like this unit and good luck to you!